I have made a process that has made spitting out content so efficient and clear. I made a step-by-step guide on how to take one piece of long-form content and split it up into small pieces of content. With just one long-form piece of content and about 6 ½ hours, you can create a full week or more (depending on how much you post) of content coming from this one. These small pieces of content include short videos, a blog, graphics, and more!
Here is the process for each step in this Macro to Micro Content process:
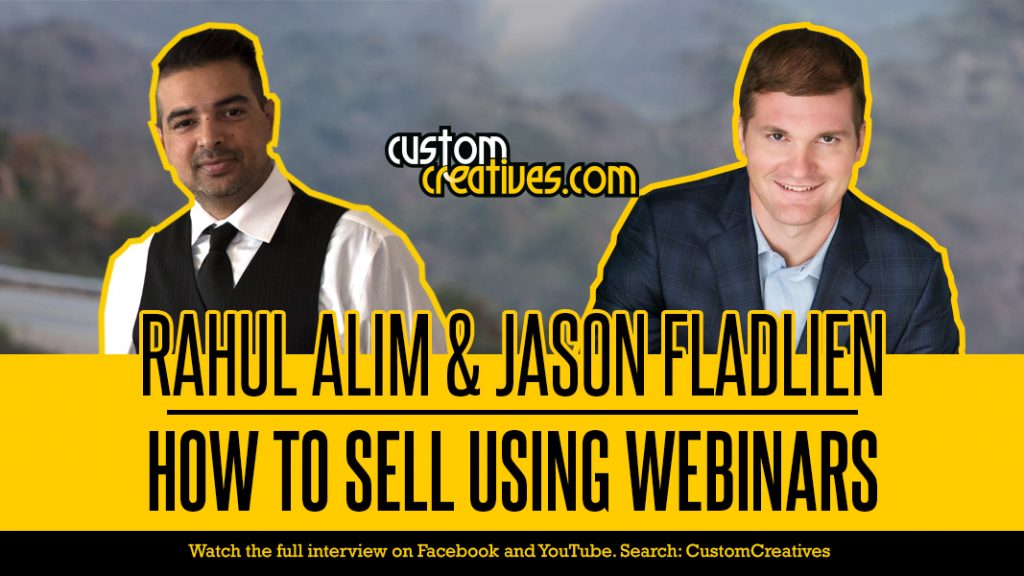
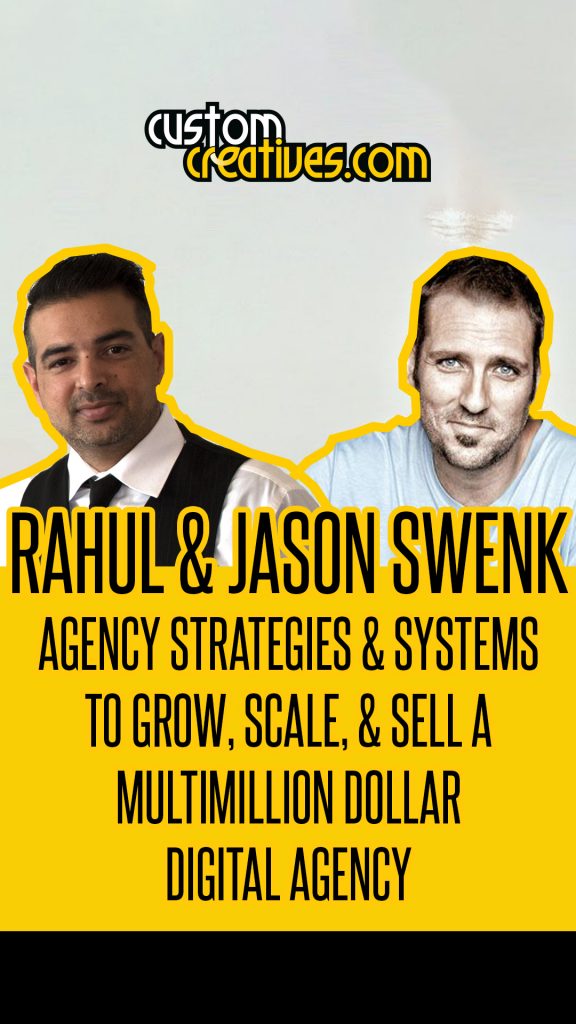
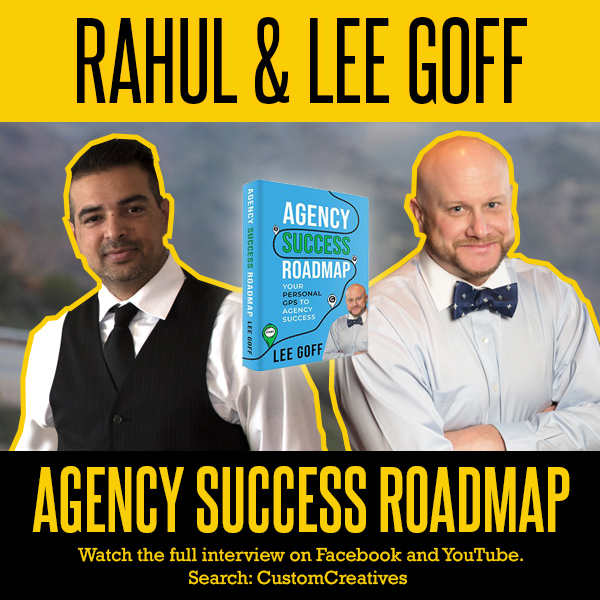
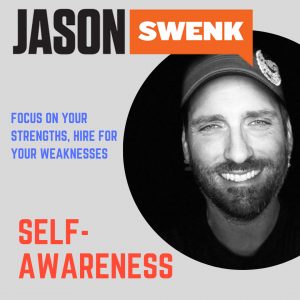
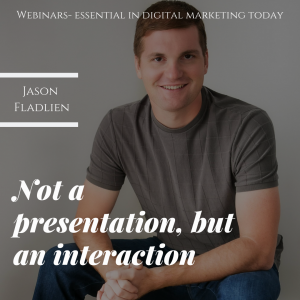
Have your designer make 4 thumbnails for your event.
These 4 thumbnails should include graphics formatted for Youtube, FB/IG (square), podcasts, and stories.
Your designer should make a template of these thumbnails so that they put your own brand style on it and so that they can make these thumbnails quickly. Here are examples of thumbnails of different sizes:
Tips:
-Don’t put too many words on it
-The podcast thumbnail should have less words because it will show up smaller.
-Use your brand’s fonts, colors, and logo so that people recognize it’s yours
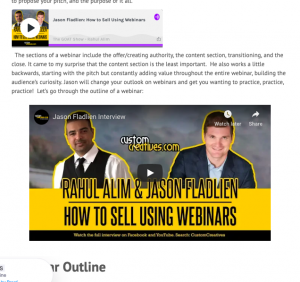
Post the video on Youtube! You don’t have to send it to an editor (but of course, it will be better with some editing). Some things we like to do in the video is make a cool intro, which introduces the guest and the topics they will be covering. Throughout the video, change the headline so that people know what topic is being covered. Find new ways of engaging with the audience! Here is an example of the way we format our interviews. We also have a playlist of all of our LIVE interviews on Youtube. Check the playlist out!
Podcasts are the new thing! I’m sure you have listened to at least one, am I right? Creating a podcast from your interview is SO EASY! We use a site called Anchor, which is through Spotify to post our podcasts.
We usually do our interviews through Zoom, which saves a downloadable audio file. All we have to do is drop the file in, add a thumbnail and title, and VOILA!
Podcasts are going to become more and more popular as people become busier. You can be cleaning the house, driving, working out, all while also listening to a podcast. Make your projects easy to find and easy to engage with.
Recap the interview in about 1,000 words. Use big headings to distinguish what you talked about in the interview so that even if your reader skims quickly, they’ll know what to expect. They will also be able to skip to the parts that are interesting to them.
We have a few blogs about some of the interviews that we did. Check them out on the blog page on our website! We interviewed Jason Swenk,
Mike Cooch, and Jason Fladlien and have those blogs up now! We have more interviews planned and are so excited to share them with you!
Keep these concise and encourage them to head over to the interview! Insert your Youtube video and your podcast so that someone can see what they want to in just one click!
Blast out an email telling people that you just did an interview. I also have a blog that talks about how to build your email list. Contrary to what you may think, email is not dead. A lot of people still use it, and even if they don’t read your emails, it’s still an effective marketing tool. To read about how emails are still effective, head over to our blog: https://customcreatives.com/ways-build-email-list/
Chop up the intro of the blog and pull out the main headlines from the original blog. With each main headline, explain each one in 1 sentence. Keep this email short and spark curiosity to lead them to your full interview and blog.
Say things like, “Hard work and perseverance- Go to the video interview to hear what Rahul has to say about how he overcame obstacles he came into contact with. You won’t hear anything like it…”
Find 3-5 topics in the full interview that you find are the most valuable. Use these short videos to put on your social media accounts and they can act as teasers. Make them under a minute so that they are correctly formatted for Instagram and it can easily go through your posting software. However, if you find that you cannot fit the chop up under a minute, go ahead and just post it on Facebook, even LinkedIn! We have another thing that you can use for Instagram in our next step below!
Make sure to put your logo on it and brand it! Try to make these videos subtly incomplete so that your audience goes to Youtube to watch the full interview. As always, post the link to the video in your caption so that your followers can do things in the least amount of steps. People don’t have time these days!…or so they say.
Remember, Instagram doesn’t allow clickable links in captions. You can say, “Link in bio” and change your bio URL to the video each time.
When you post these videos, use the IG and FB story thumbnail to get people to go to your page.
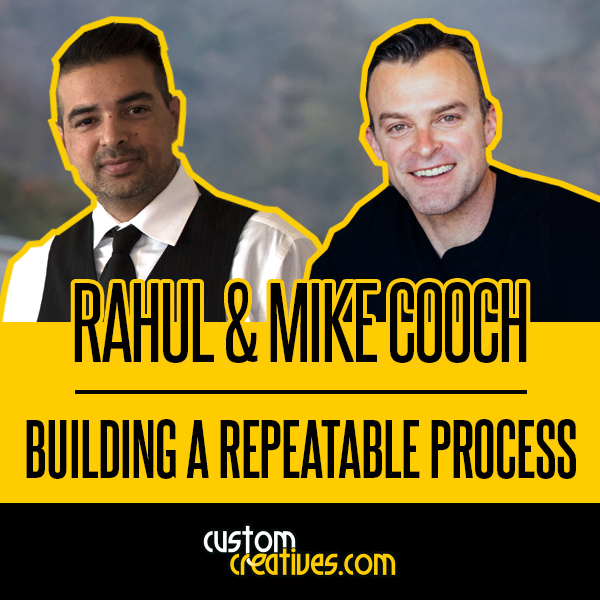
Have your graphic designer make 3 graphics of either the top 3 topics you talked about in the interview or 3 valuable quotes the person said. Include a picture of the speaker and their name.
If you don’t have a graphic designer, use Canva! Canva is easy to use and it looks like a designer made them! Here are some of our graphics:
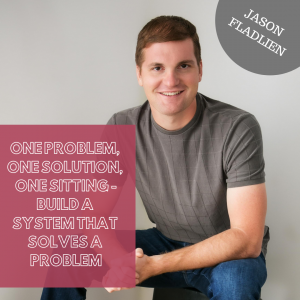
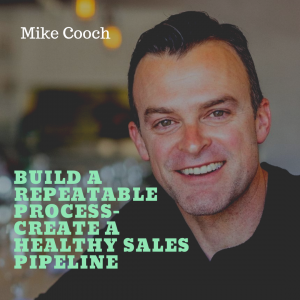
This is what you can post on Instagram if your chopped up videos are over a minute!
If you haven’t read our blog on how to plan and post your social media content, head over now! https://customcreatives.com/guide-post-social-media-content-entire-year/ We use a website called Buffer to plan our social media content so that we don’t have to post each day manually.
If you post every day, this gives you about a week’s worth of content to post. So thinking ahead, if you do 3-4 interviews every month (that’s one interview a week), that’s over a month’s worth of content. I’m sure you also have other posts planned as well, which will allow you to scatter these posts and it will last you longer!
Instead of just posting your one huge file, how about doing some marketing towards that big event using micro versions of it.
Even if someone never clicks your link to the Youtube video, you still delivered the same value!
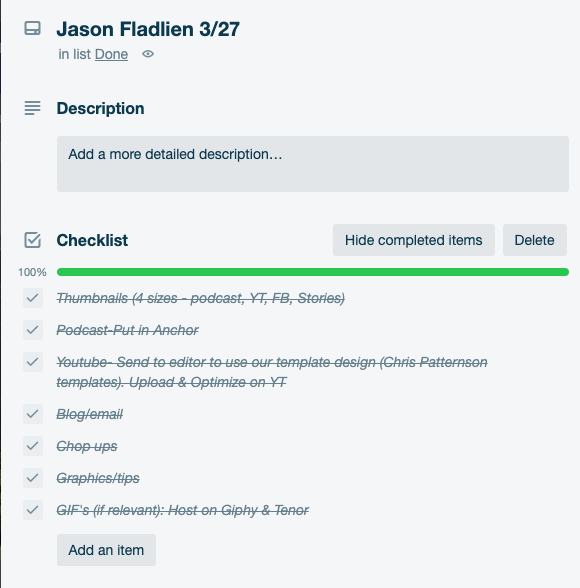
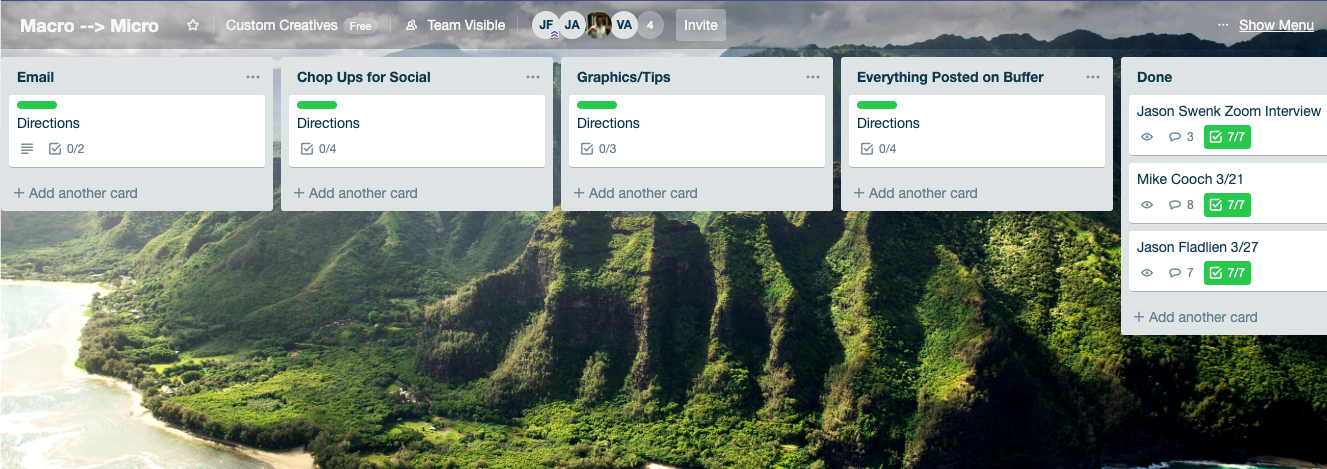
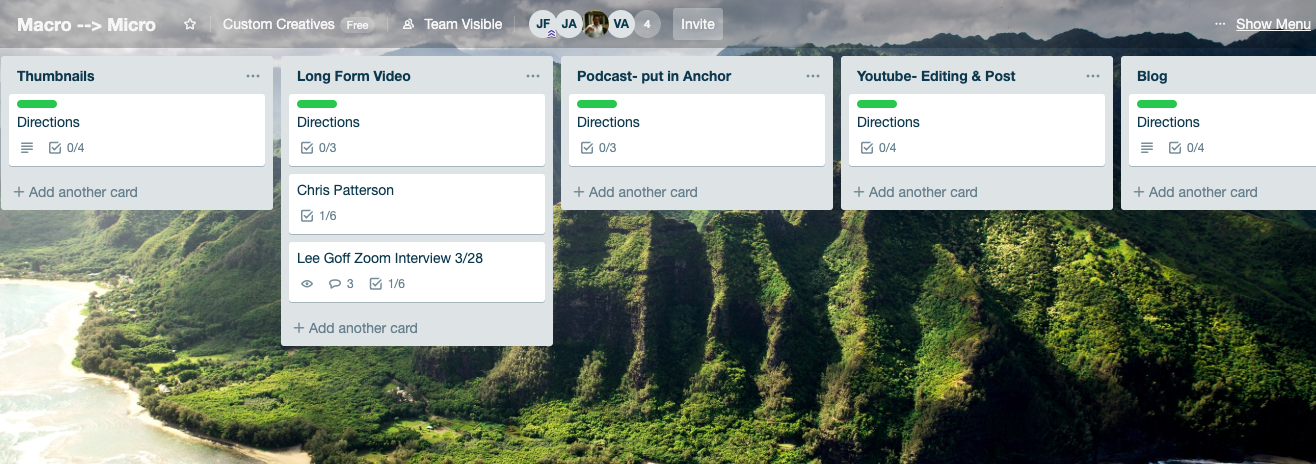
Once you’ve got this process down, it will become systematic, easy, and repeatable. We made a Trello board so that we can keep track of every step in the process. As we go through the process, we move our card through the process and also mark off a checklist in the card to see our progress. After each step is completed, you add a comment and add all of of the links to the different files. For example, after you finish the podcast, post the embed link into the comments. After the videos are done and chopped up, I put the drive links in the comments. This will help you find all of the documents later on.
With so much content, the main idea is to stay organized. Have designated folders for everything so that files are easy to find for you and your team. Also have a way to track your posts so that you know what day they are going out.
Questions or want me to help you set up your own system? I want to get on a call with you! Schedule it here! https://calendly.com/customcreatives/30min
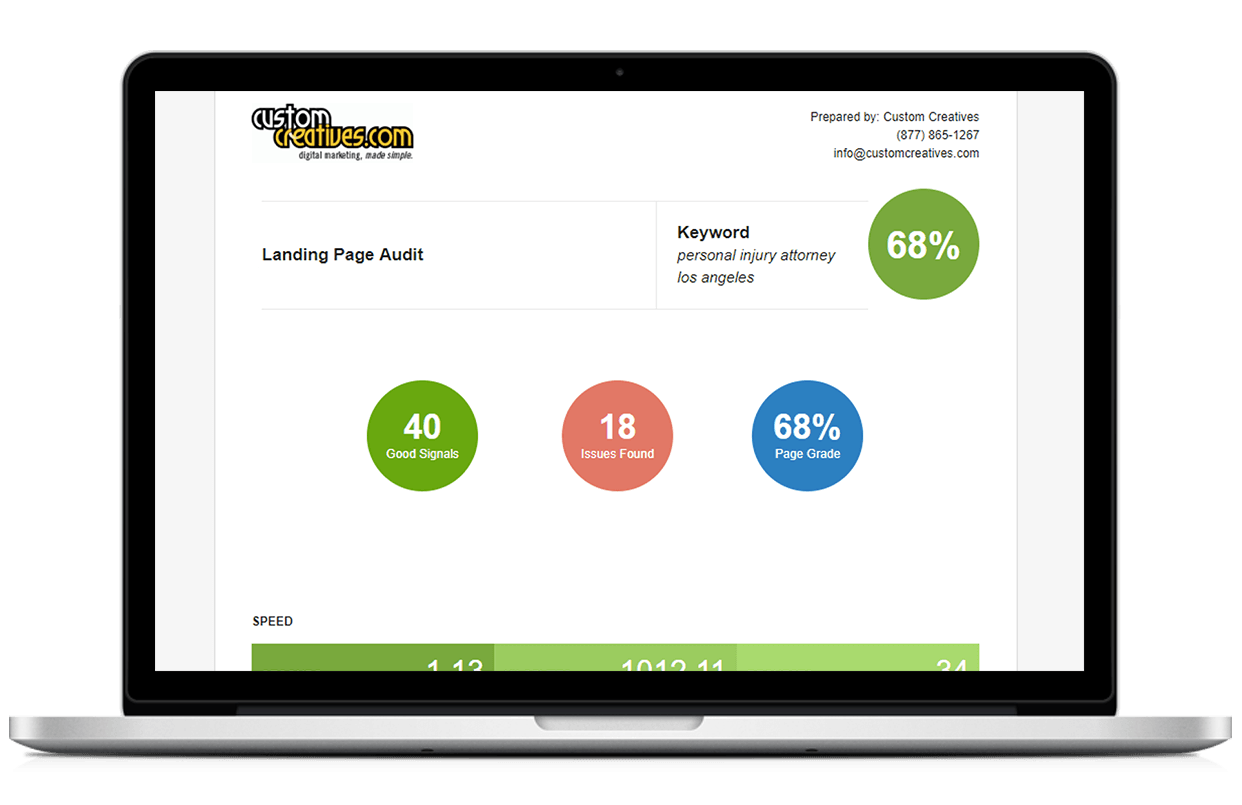
Get your website's SEO strength evaluated and start getting more customers online.
Get My Free Website Audit